Dan had a meeting after the worship service on Sunday, so while my kids ate the rest of the coffee time cookies and chased each other in the basement, I peeked in the Give and Take Room to see if there was anything in my size.
A cozy grey sweatshirt dress called out to me. The sleeve length and waist width looked promising. One of the kids got tired of tag (noisily) so I packed the dress to try on at home.
I forgot to take a before picture, it fit well on my top half, but cupped and clung unattractively over my belly and hips. I set it aside to figure out if I could use it somehow, or if I should just hang it back up in the Give and Take Room.
tuesday I realized that I had so much laundry piled up, I could either wait until a load had washed and dried to get dressed, or I could alter the new dress. Sewing on a school day? Ooo – how wicked could I get?
My plan was to cut the skirt off the bodice, pull it up so there would be more ease , then re-attach it. It would go from a maxi dress to a mid calve dress. Just below the knee would have been a prettier length, but the deep slit in the back would have been just too…ahmmm…no.
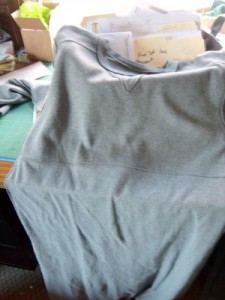
That blurry picture is fairly worthless. It does show my laundry mountain though. I’m holding a box of pins. What I did was hike up the newly cut free skirt until the hem was even, the side seams aligned with the bodice side seams (and hung straight) then I marked the new seamline with pins. since it’s a knit fabric, I didn’t have to worry about fraying or leaving much of a seam line, so I just marked where the bodice cut edge bumped the skirt top.
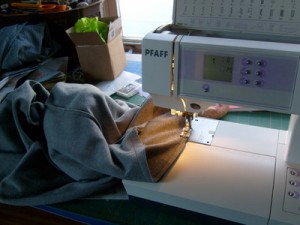
I marked the skirt and bodice into quarters, pinned them together, then sewed them with a short straight stitch on a ball pointed needle.
Then I pressed the hem with my iron set to cotton (It’s a blend, I probably should have used less umph). I re-threaded my machine for a double pointed ball point needle, and calibrated it with a few passes on the extra bit of skirt I’d trimmed off. I had to adjust the top tension a bit, but once I was happy with it, I topstitched the seam in the same way it had been done originally.
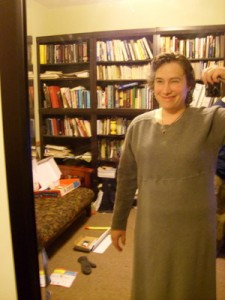
Ta Da – the comfy, plain dress did need something though. At Dan’s suggestion I added a colorful sweater.
Blurry photo this time because when I used a flash, all the mirror showed was, flash.
The book glacier is picked up now, and I’m caught up on laundry. I’m not repentant that I took time out to sew either – I have a new dress!



Chris,
The dress came out really well, especially with the colored scarf and sweater!
Also, I love the descriptive term – book glacier. My house always has a few of them!!!
Hugs to you!
Aunt Bev
Thanks Aunt Bev!
Cute! And smart.
Thanks!
I actually enjoy the challenge of altering clothes; but when I mention that I alter and mend at fabric stores, I get sympathetic looks. Funny.
Great job Chris and the color added from the sweater is wonderful!
Great tutorial and I got some more ideas in your blog. Keep on posting!
Oh thank you! I re-did another dress this summer, but before I photographed the finished product, I melted the polyester trim by ironing the cotton dress at the cotton setting.
So, either I need to take more photos, or nix all polyester from my stash.
thanks again!
That’s good idea Chris. wanna see more photos..:-)